
Hi Dev,
In this tutorial, we will learn how to upload an image in Laravel 9 with validation and store it in the database and storage directory. This step-by-step guide will help you understand image upload in Laravel 9 using PHP. We will also implement validation to ensure that only valid image files are uploaded.
This tutorial will guide you in creating an image upload form in Laravel 9 with validation, storing images in the database, and saving them in the storage directory.
Follow the steps below:
Step 1: Install LaravelFirst, install a fresh Laravel application. If you have already created a project, you can skip this step.
composer create-project laravel/laravel example-appStep 2: Create New Controller
Next, create a new controller named ImageController. This file will contain two methods: index() to render the view and store() to handle image upload logic.
Run the following command:
php artisan make:controller ImageControllerapp/Http/Controllers/ImageController.php
<?php

namespace App\Http\Controllers;

use Illuminate\Http\Request;

class ImageController extends Controller
{
    public function index()
    {
        return view('imageUpload');
    }

    public function store(Request $request)
    {
        $request->validate([
            'image' => 'required|image|mimes:jpeg,png,jpg,gif,svg|max:2048',
        ]);

        $imageName = time().'.'.$request->image->extension();

        $request->image->move(public_path('images'), $imageName);

        /* Store $imageName in the database here */

        return back()
            ->with('success','You have successfully uploaded an image.')
            ->with('image',$imageName);
    }
}
Store Image in Storage Folder
$request->image->storeAs('images', $imageName);

// storage/app/images/file.png
Store Image in Public Folder
$request->image->move(public_path('images'), $imageName);

// public/images/file.png
Store Image in S3
$request->image->storeAs('images', $imageName, 's3');
Step 3: Create Routes
routes/web.php
<?php

use Illuminate\Support\Facades\Route;
use App\Http\Controllers\ImageController;

Route::get('upload-image', [ImageController::class, 'index']);
Route::post('upload-image', [ImageController::class, 'store'])->name('image.store');
Step 4: Create Blade File
resources/views/imageUpload.blade.php
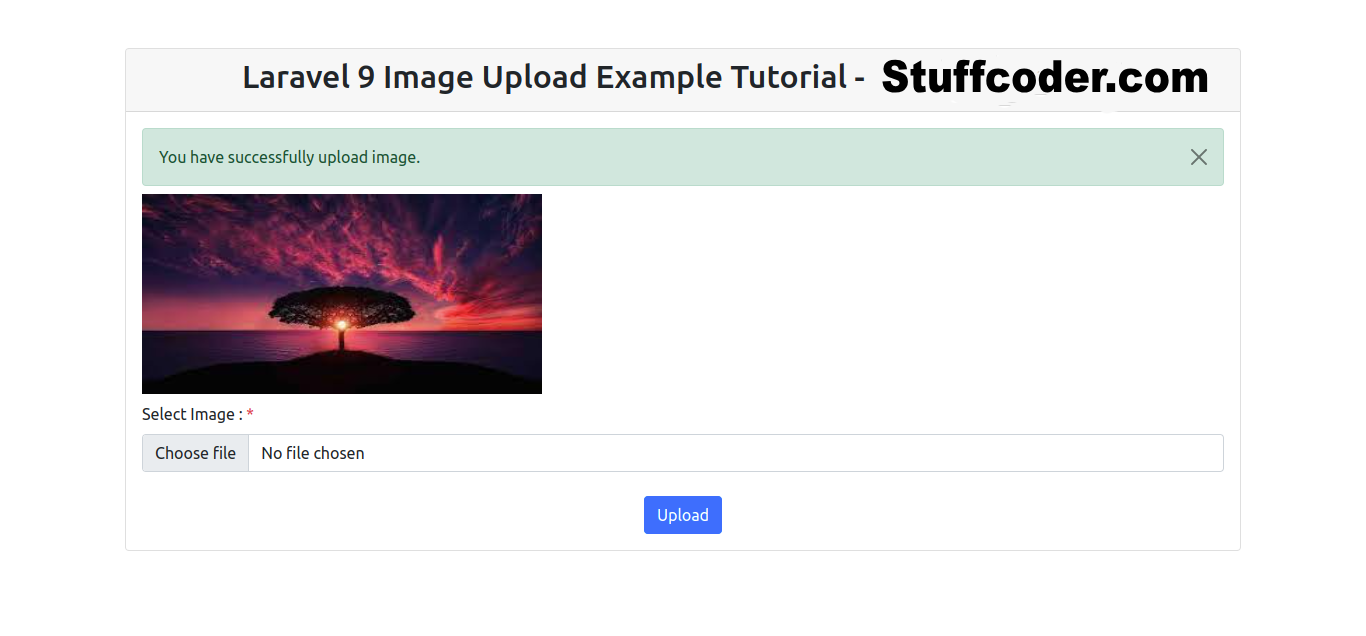
<!DOCTYPE html>
<html>
<head>
    <title>Laravel 9 Image Upload Example</title>
    <link href="https://cdn.jsdelivr.net/npm/bootstrap@5.0.2/dist/css/bootstrap.min.css" rel="stylesheet">
</head>
<body>
<div class="container mt-5">
    <div class="card">
        <div class="card-header text-center">
            <h2>Laravel 9 Image Upload Example - StuffCoder.com</h2>
        </div>
        <div class="card-body">
            @if ($message = Session::get('success'))
                <div class="alert alert-success alert-dismissible fade show mb-2" role="alert">
                    {{ $message }}
                    <button type="button" class="btn-close" data-bs-dismiss="alert" aria-label="Close"></button>
                </div>
                <img src="/images/{{ Session::get('image') }}" class="mb-2" style="width:400px;height:200px;">
            @endif

            <form action="{{ route('image.store') }}" method="POST" enctype="multipart/form-data">
                @csrf

                <div class="mb-3">
                    <label class="form-label" for="inputImage">Select Image: <span class="text-danger">*</span></label>
                    <input type="file" name="image" id="inputImage" class="form-control @error('image') is-invalid @enderror">

                    @error('image')
                        <span class="text-danger">{{ $message }}</span>
                    @enderror
                </div>

                <div class="text-center mt-4">
                    <button type="submit" class="btn btn-primary">Upload</button>
                </div>
            </form>
        </div>
    </div>
</body>
</html>
Run Laravel App:
Now, run the Laravel application using the command:
php artisan serveOutput:
FAQ:
- How do I upload an image in Laravel 9?
- How do I validate image uploads in Laravel?
- How do I store images in Laravel?
- How can I upload multiple images in Laravel?
- How do I resize an image in Laravel before upload?
- Where are Laravel uploaded images stored?
- How do I display uploaded images in Laravel?
- What are the best practices for image uploads in Laravel?
I hope this guide helps you!